 01 / 04
Laptop Table Reset
€39Best for · a table that changes roles daily
- Anchor the charger at the rear edge
- Sleeve the power route
- Roll out the compact mat
4 clips1 m sleevecharger dock
Objects for calmer surfaces · Italy
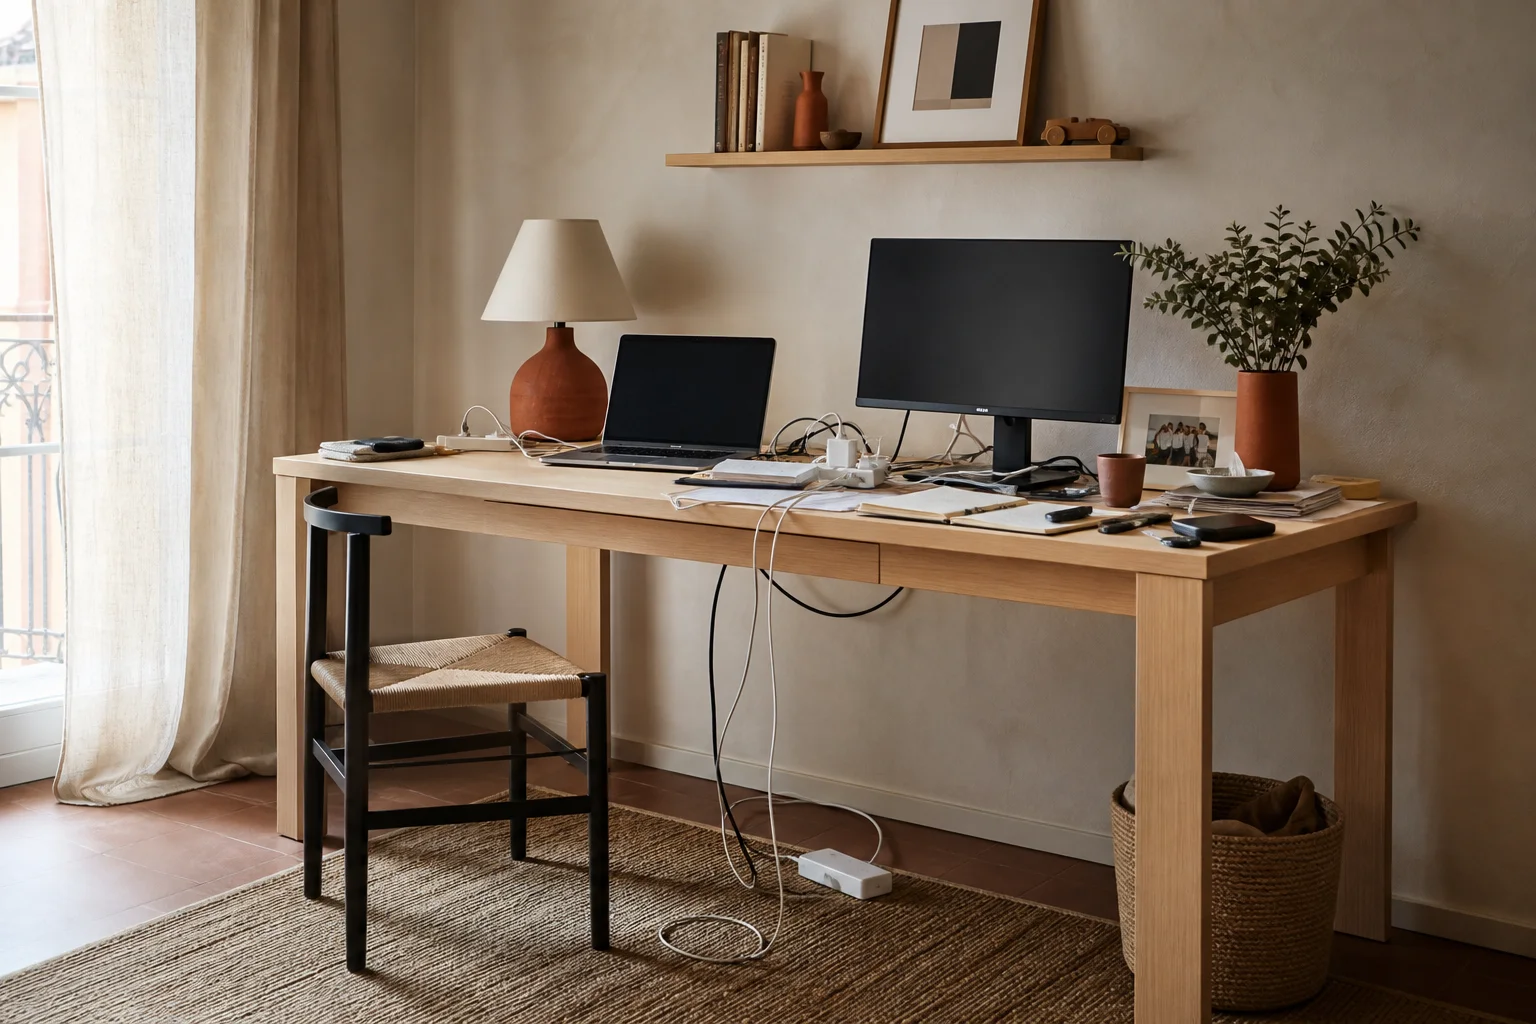

Before / visible noise
After / quiet order
01 · Mess-to-order study
In Italian homes, a desk is rarely only a desk. It may be a dining table by evening, a homework station after school, or a compact studio squeezed between a window and a bookcase. Chargers arrive one by one, then become a tangle that steals useful space and makes every reset feel harder.
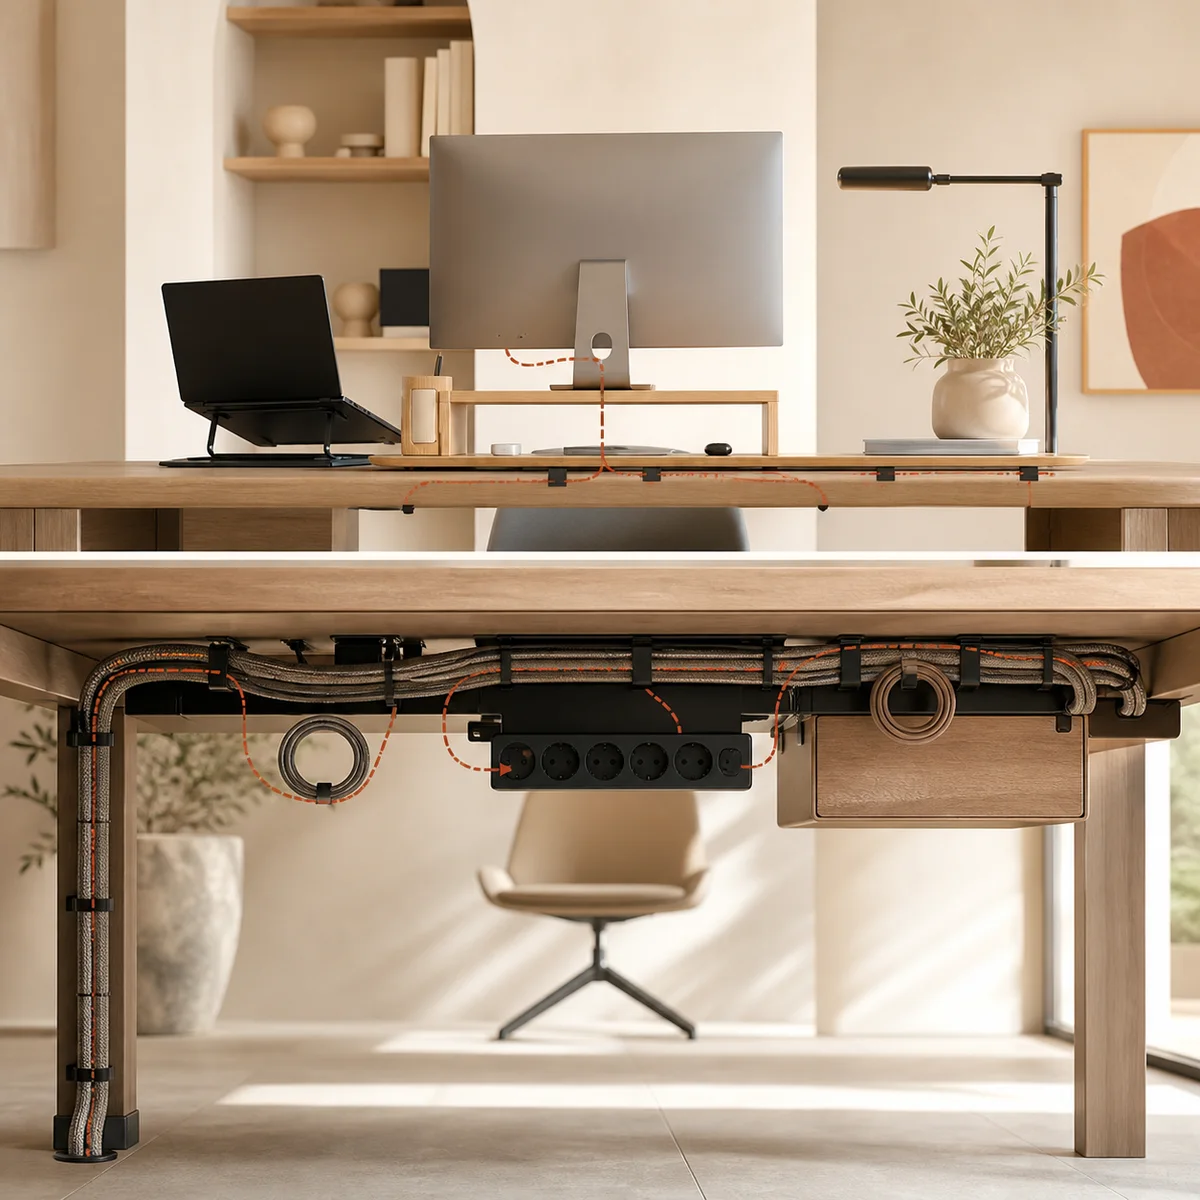
Ordino Desk treats organization as part of the room, not an afterthought. A tray gives power a hidden address. Clips keep everyday cables exactly where hands expect them. Sleeves turn several lines into one calm route, while drawers and monitor stands return the surface to work. The result is not sterile minimalism. It is a flexible table that changes roles without carrying yesterday’s clutter into today. Start beneath the desktop, build one clear cable path, and keep only the tools that deserve to remain visible each day.
02 · Cable path planner
Three practical details are enough to size the hidden system. Nothing is ordered; the result is a reusable recommendation for your space.
 ← 120 cm →3 connected devices
03 · Organization recipes
Each recipe combines a short sequence with the fewest useful tools. Adapt the order, keep what serves the room, and leave the surface lighter.
01 / 04Best for · a table that changes roles daily
 02 / 04
Best for · two screens on a compact desk
 03 / 04
Best for · homework, meals, and hybrid work
 04 / 04
Best for · creators with changing equipment
04 · Under-desk visualizer
Select a placement point. The cutaway explains why each item belongs there and what clearance to keep.
Power strip zone
Mount the strip inside the tray or beside it where plugs remain visible. Leave the switch reachable and keep power bricks ventilated.

05 · Twenty-minute field guide
 One desk · one route · twenty minutes
You do not need a perfect system or an empty afternoon. Set a timer, clear one route, and let each cable earn its place.
Photograph the connections, then unplug everything that can move. Place each cable beside its device and remove anything unused or duplicated. A small piece of removable tape can mark similar chargers. Keep power, data, and audio separate so tracing a fault remains simple later.
Decide where power will live beneath the desk. Position the strip where its switch and plugs remain reachable, away from knees and moving mechanisms. A ventilated tray provides the cleanest home. Check screw length and desktop material before drilling; use suitable clamps or adhesive mounts when required.
Run display, computer, and lamp cables toward the tray with gentle curves. Secure the route at intervals using reusable clips, but do not crush or sharply bend it. On a standing desk, raise the surface fully and confirm that every line has enough relaxed movement before fixing clips permanently.
Bundle parallel leads in a woven sleeve and stop it before connectors need to separate. Anchor everyday charging ends at the rear edge so they never fall. Coil spare length into a loose loop below the surface, using a hook-and-loop tie rather than a tight knot.
Reconnect one device at a time and test it before closing the tray. Return only daily tools to the surface. Store adapters and occasional accessories in a shallow drawer. Finally, photograph the finished route; that reference makes future changes quicker and reveals when one new cable has disturbed the system.
06 · Before & after gallery
Three compact transformations, recorded through the problem, the result, and the modest tools that connect them.
 VENEZIA / 01
Canal light made the small desk inviting, but every charger slid toward the floor and returned across the notebook. A rear clip now holds the active cable, while the sleeve follows one leg to a short tray below. Raising the monitor created space for paper without changing the antique table. The room still feels historic; only the friction has disappeared.
 MILANO / 02
Two monitors brought six visible lines and nowhere to store drawing tools. A tray now separates power bricks from data leads, and a drawer holds pens beneath the dominant hand. Both screens sit on one stand above a structured mat. The desk gained no width, yet its useful area feels larger and the evening reset takes less than one minute.
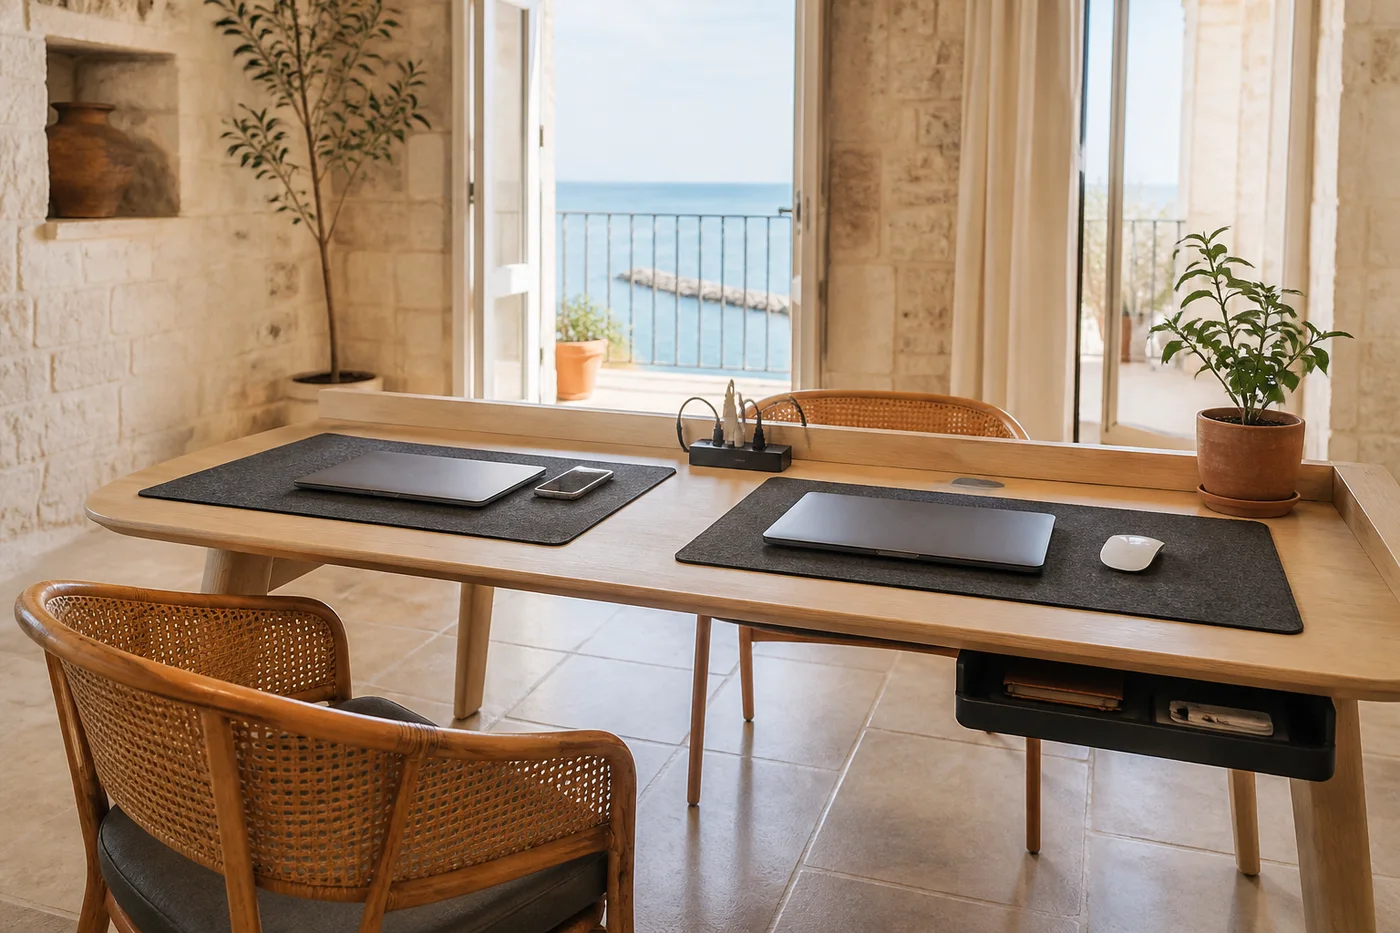 BARI / 03
Breakfast, homework, and remote calls all happened at one table, so adapters multiplied in the centre. Two colour-coded clips now mark separate charging zones, fed from a strip below. A washable mat defines the work area and rolls away before meals. The drawer captures spare adapters. Everyone understands the system, which is why the table stays calm throughout each day.
Begin below the surface.
Saved.